Generating Reports
Reports are a primary way to view data in the AMP system. Reports present the AMP data in a pre-structured order that makes it easy to understand the results. Generating reports is an easy, important part of using the AMP database.
How to generate reports:
Step 1: Access the Generate Reports page:
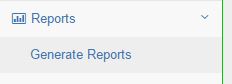
Once in the system, click on the “Reports” tab on the left of the screen.
Clicking the reports tab will cause a drop-down to appear with a link titled “Generate reports.” Click on this link to access the Generate Reports page.
Step 2: Filter the results
On the Generate Reports page, you will be presented with a list of employees from whom you can choose to generate a report.
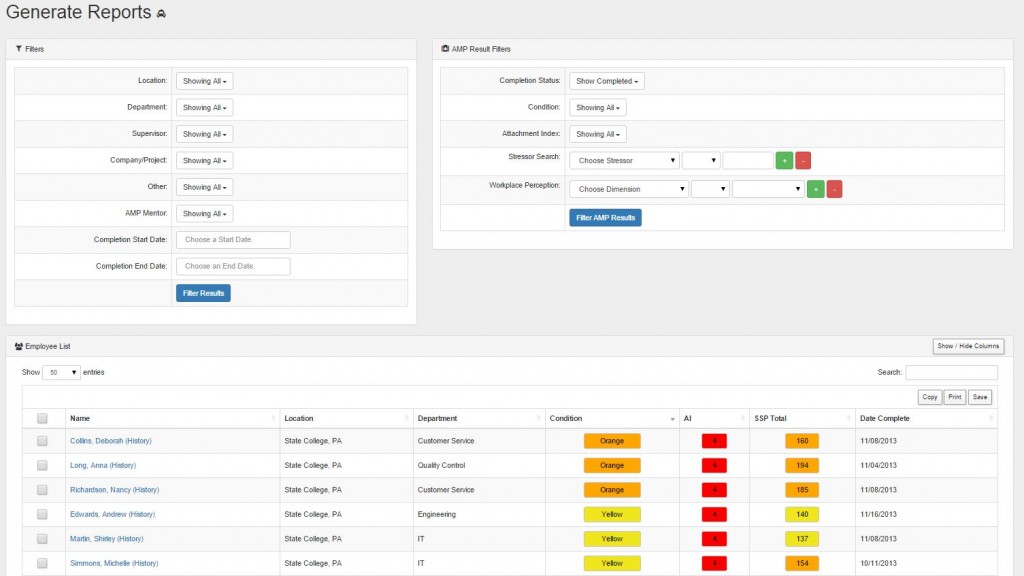
Before you generate report, you may desire to filter the results. By using the “filters” at the top of the page, you can sort the results to see just those individuals that you are interested in. If you want to see all results, leave the filters empty. Please see “How to use filters” for more tips on filtering your data.
Next, choose the individuals you want to include in the report. Only the individuals you select will appear in the report. You can also select all individuals. To do this, select “All” in the “Show Entries” box on the top left of the employee list. Then, select the box to the left of “Name” to select all individuals.
Step 3: Generate a report:
Once you have selected the desired filters and/or individuals, scroll down to the bottom of the page to select the report(s) you wish to generate.
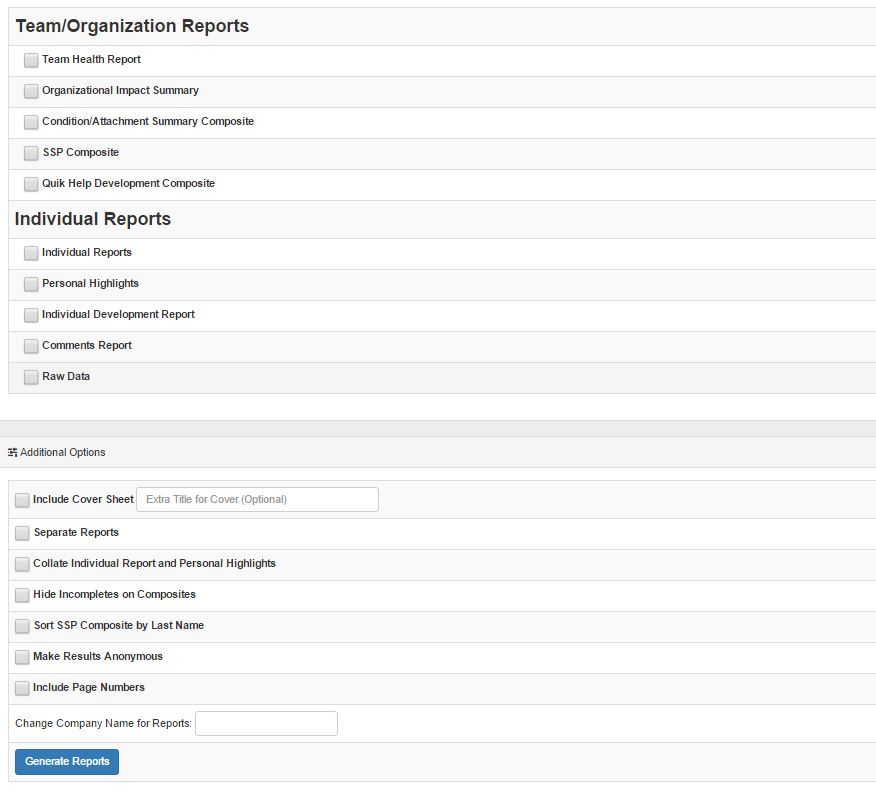
There are multiple types of reports that can be generated in AMP. Please see the Reports and Analytics section to learn more about the reports, and how to use them.
Once you have selected your desired reports, you may select additional reporting functions in the “Additional Options” section.
Additional Options include:
- Include Cover Sheet – Adds a cover page to the selected report. This is helpful when printing reports for others, and you can add an additional title if desired (for example, “Marketing Team,” or, “Second Quarter”).
- Separate Reports – Generates each selected report as a separate PDF.
- Collate Individual Reports and Personal Highlights – Places the Personal Highlights report directly after the Individual Report. Both reports must be selected.
- Hide Incompletes on Composites – Removes any individuals from the Composite Report who don’t have data.
- Sort SSP Composite by Last Name – Generates the SSP Composite sorted alphabetically. (the default sorts by highest stress scores).
- Make Results Anonymous – Any individual names will be replaced by an ID number (User 1, User 2, etc.).
- Include Page Numbers – Adds page number to the report – this is especially helpful if you generate multiple reports in one PDF.
Once your reports are selected, click the “Generate Reports” button. The page will then reload and a link to your download will appear in a green box. Note: if you have many users selected, or are generating multiple reports, it could take a few extra seconds for your report to be generated.