How to Manage Users
The Manage Users page helps you maintain employee information to ensure that the information in your database is accurate and up to date.
How to use the Manage users Page:
Step 1: Access the Manage Users Page:
To access the Manage Users page, select the User Management menu on the left. This will cause a drop-down to appear with various sub-menu options.

Select the Manage Users option.
Step 2: Edit Users
Once on this page you will see the Employee List where you can enable/disable employees, edit employees, and adjust the groupings for each employee.

Sorting:
You can filter your Employee List by making selections in the Filters box & selecting “Filter Results”. Additionally, the search box allows you to search for a specific employee or employees by first or last name. Separate multiple keywords with a comma.
To change the number of employees you can view at once, select a number from the dropdown box at the top of the Employee List.
Enable/Disable Users
This function allows you to turn employee access on and off to the AMP system. When a user is disabled, they will still be visible on the Manage Users page, however their data will not be included on any other page.
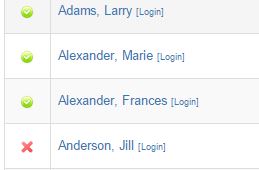
Beside each individual’s name you will see a Green Check Icon or a Red X. The Green Check Icon means that the user is currently active in your database, and the Red X means they have been deactivated.
To deactivate an employee, click on the Green Check Icon beside their name. This will bring up a Disable User box where you will be asked if the user is leaving the company or if they have already left.
If you select Yes, it will ask the reason for leaving the company. Options are:
- Voluntary
- Involuntary (termination, injury, etc.)
- Retirement
If you select No, it will ask you the reason for leaving AMP. Options are:
- Voluntary (User no longer wants to participate in AMP)
- Involuntary (Moving to corporate division without AMP, management Decision, etc.)
To activate a user who has been previously disabled, click on the Red X beside their name. A box will come up verifying that you wish to enable the user. Click the green Enable User button, and this user will be active in your database.
Update Filters
From the manage user page, you can also edit or update what filters an individual is assigned to. At the top of the Employee List, check the box that says “Show Dropdown Boxes to Change Groupings”.

To change a specific filter for the employee:
- Click on the drop-down box under the column with the filter you’d like to change.
- Select the filter or filters from that category you’d like to assign to the employee (you may choose more than one filter from a single category).
- Click outside of the box when you’ve selected the filters you’d like assigned and your changes will be saved.

Update Individual Employee Information
To update an individual employee’s information, click on the employee’s name from the Employee List. This will bring up the Edit User page for that employee.
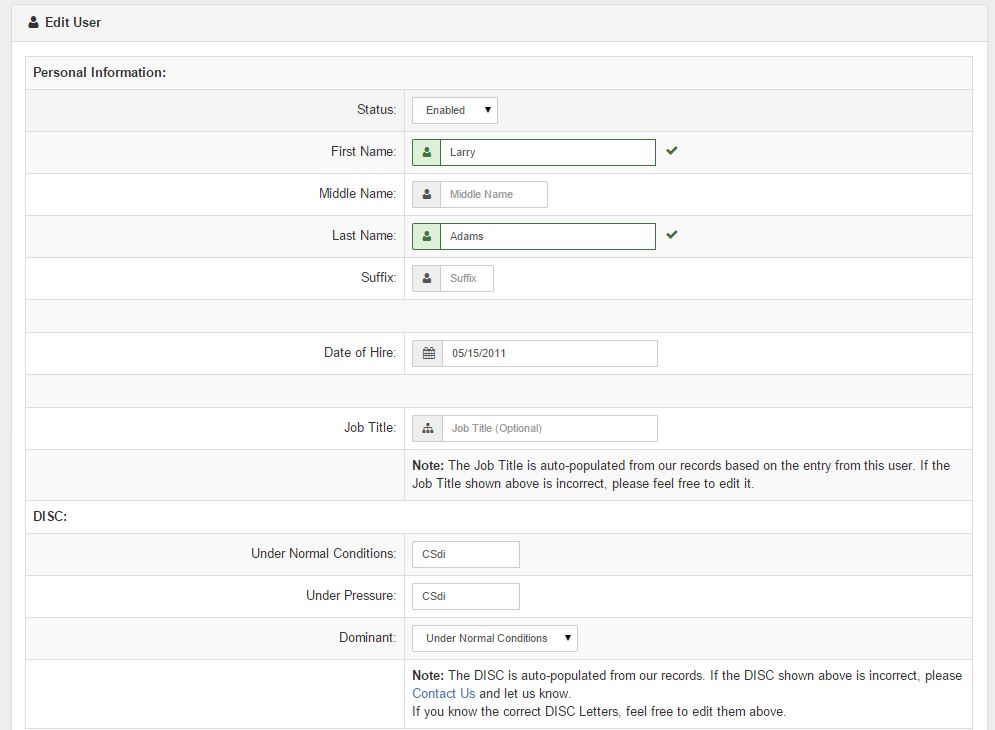
On this page, you can edit all employee information, including:
- Current AMP Status (Enabled/Disabled)
- First, Middle, & Last Name
- Date of Hire
- Job Title
- DISC – the DISC is auto-populated from our records. If the DISC shown on this page is incorrect, please contact us and let us know. If you know the correct DISC letters, feel free to edit them here.
- Email Address
- Username – this is typically the employee’s email address, but if you’d rather use a different username, you can do so here.
- Password – if an employee forgot their password, you may generate a new one for them by clicking the Generate Password button.
- Assigned Filters
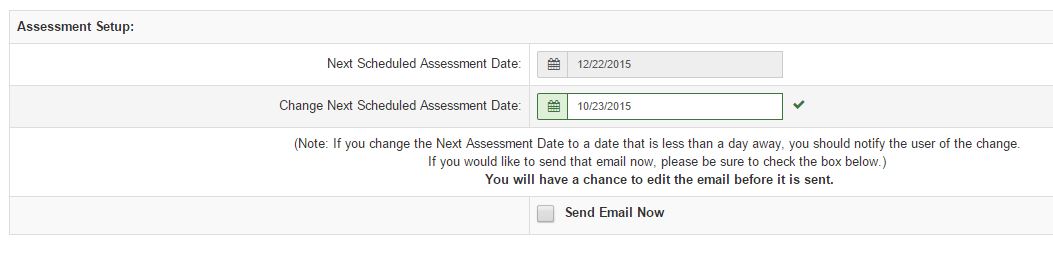
- Next Scheduled Assessment Date, if applicable
- If your company’s AMP is on a subscription basis, you may choose to have an employee complete their AMP prior to their next AMP date.
- The current next scheduled assessment date is shown, and an option is given underneath that to change this date.
- Click in the box beside “Change Next Scheduled Assessment Date”. This will bring up a calendar that will allow you to choose the date for the individual’s next AMP.
Once all changes have been made to the individual’s user information page, click Modify User. All changes will be saved.