Manage Administrators
Note: Users must have “Administrator” permissions to access the “Email Administrators” page.
The “Manage Administrators” page allows you to edit administrator access, and change the profile information for existing administrators. For example, if you want to change what reports or teams an administrator has access to, you can easily do that from the Manage Administrators page. Additionally, the Manage Administrators page is useful to show the last time Administrators logged into the database.
How to Manage Administrators
Step 1: Access the Manage Administrator Page
To access the Manage Administrators page, click on the Administrators menu on the left. This will cause a drop-down to appear with various sub-menu options.
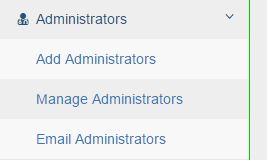
Select the Manage Administrators option.
Step 2: Manage Administrators
Once on this page you will see a list of Administrators and key information. Information on the list includes administrator name, email address, admin level, date created, and last login.
Enable/Disable Administrators
This function allows you to turn access to the database on and off for all admin levels. Beside each individual’s name you will see either a Green Check or a Red X. The Green Check icon means the admin is currently active within the system, and the Red X means they have been deactivated.
- To deactivate an admin, click on the Green Check icon beside their name. This will bring up a Disable Administrator box that shows the admin’s name and email address. Click Disable Administrator and they will be disabled from their access to the system.
- To activate an admin, click on the Red X beside their name. This will bring up the Enable Administrator box that shows name and email address. Click Enable Administrator to turn on the access to the database for that admin.
Edit Administrator
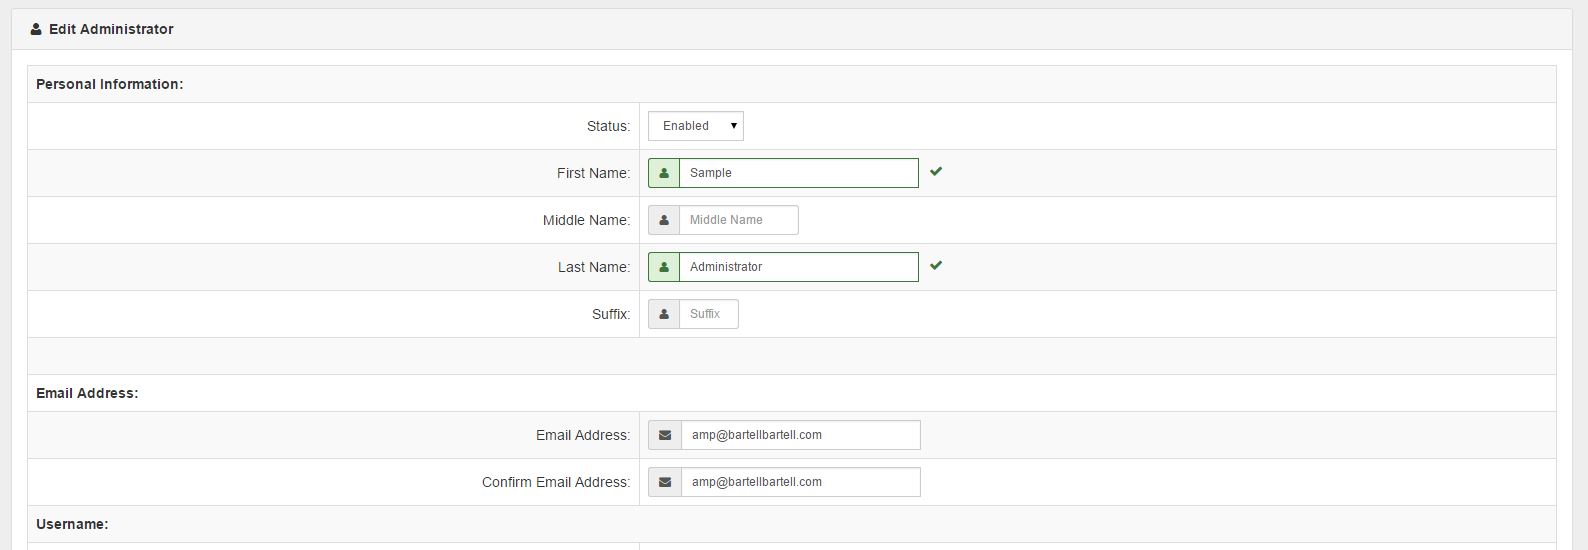
To edit the information for an admin, click on their name from the Administrator List. This will open the Edit Administrator page.
- At the top of the page is their current status, enabled or disabled. You can edit their status on this page by selecting enabled or disabled from the dropdown box.
- Next is the user’s name, email address, username, and password. If any changes need to be made, enter them in the boxes beside the appropriate title.
- If the admin cannot remember their password, you can generate a new password for them or enter a new password here to provide to them.
Administrator options:
To change an administrator’s privileges you can use the Administrator option area. From here you can change Admin level, Completion notification status, and edit what reports and groups the administrator has access to.
- Admin Levels include AMP Administrator, AMP Support, AMP mentor, and AMP Viewer. You can edit the access the admin currently has by selecting the appropriate level from the drop-down.
- Enable Completion Notifications allows an email to be sent to this particular admin based on the company options in place. The emails will only be sent when triggered for the individuals and/or groups this admin is assigned to. If the admin is an AMP Administrator, they will receive all emails triggered.
Edit Administrator Access / Privileges
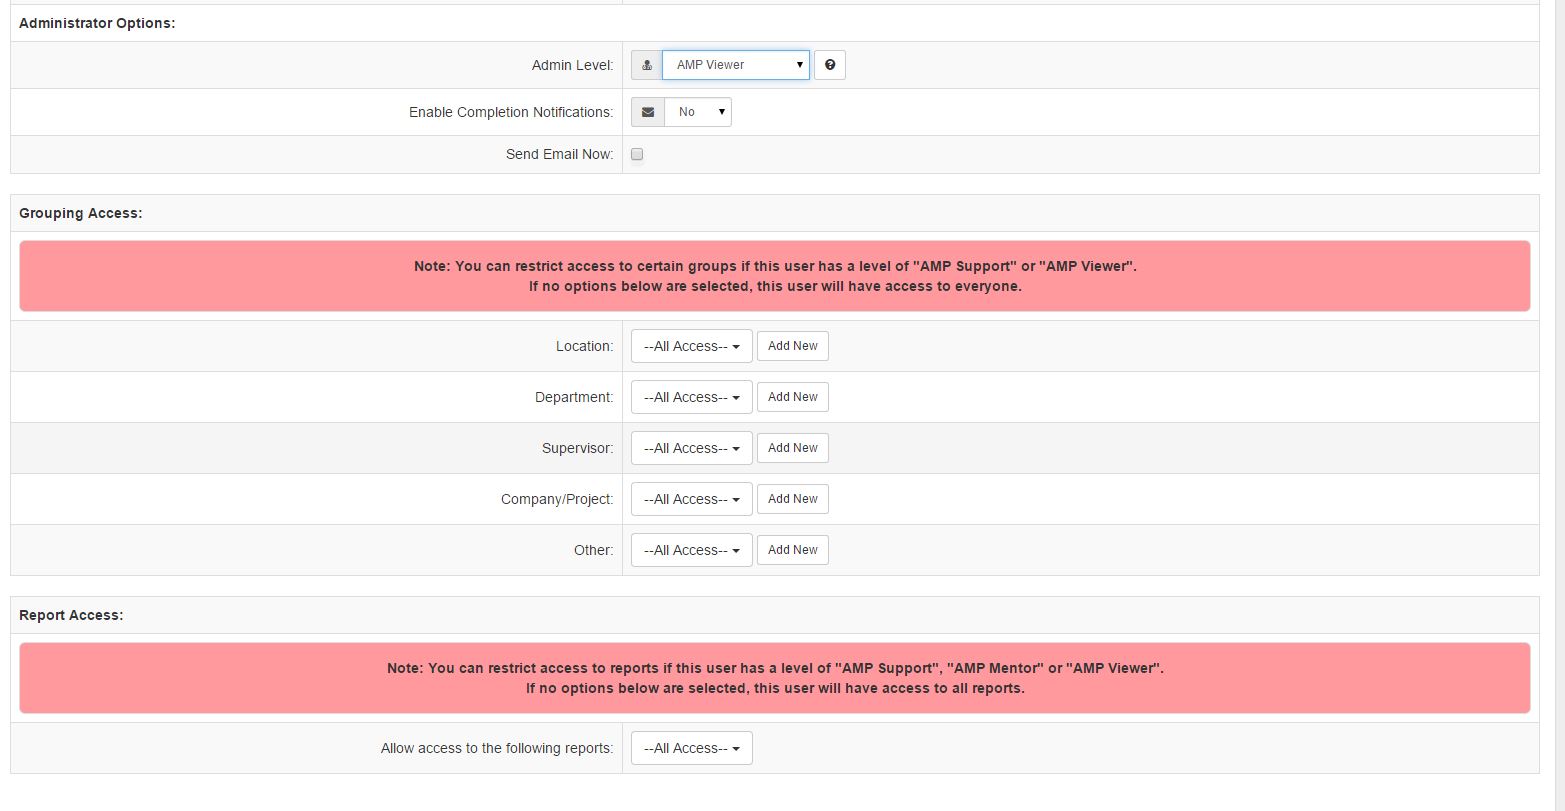
Once the Admin level is selected, areas for Grouping Access and Report Access will appear. From here, you can edit the administrator’s permissions. If Admin Level selected is “AMP Administrator” the user will automatically have access to all teams, individuals, and reports.
- Grouping Access will appear if the individual is an AMP Support or AMP Viewer. You can limit their access to the AMP database by using your company’s groups (such as assigning them to a specific Location or Department). This will allow them to only view the individuals in the groups they are assigned to.
- Report Access allows you to restrict access to the reports the AMP Support or AMP Viewer will have access to. If no options are selected, the admin will have access to all reports. To restrict access, select the checkbox beside the reports you would like the user to have access to.
Once all changes have been made, click Modify Administrator to save changes and the admin’s access will be updated.