Automatic Reports
Automatic Reports Overview
The Automatic Reports page has been designed to allow users to create reports that will be emailed on a regular basis. This can be helpful for sharing team information with managers, getting regular updates on how a specific group is doing, or even keeping your CEO informed with what’s happening in the organization.
The reports can be sent to anyone with an email address. This frees up the AMP Administrators time from creating the reports on a monthly or quarterly basis to send, and it can eliminate the need for giving everyone access to the database when they only need to see certain reports on a regular basis. There is no limit to the amount of automatic reports that can be setup, and the reports can be turned off or edited at any time.
How to Use the Automatic Reports
Step 1: Access the Automatic Reports Page
To access the Automatic Reports page, select the Reports menu on the left. This will cause a drop-down to appear with various sub-menu options.
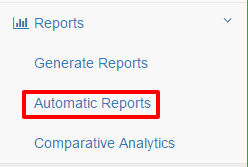
Select the Automatic Reports link to access the page.
Step 2: Apply Filters
The Automatic Reports page has two filtering options. The Filter box contains your Groupings (Location, Department, etc.) that are setup in your AMP database. These will allow you to receive regular reports for specific filters. If you select more than one filter here, the automatic reports will contain the aggregate results for all filters selected. Note: if you want to include everyone in the database, simply skip this step.

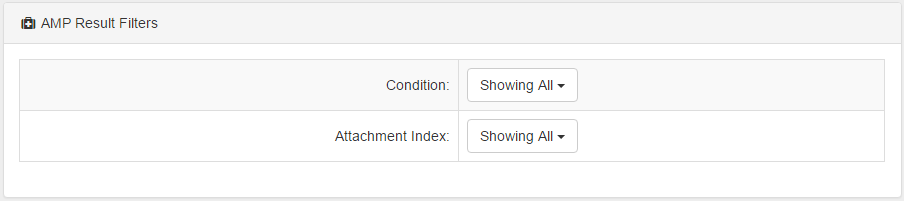
The second filtering option is based on the AMP results. This allows you to have reports sent to you based on Condition and/or Attachment Index.
Step 3: Selecting Your Reports
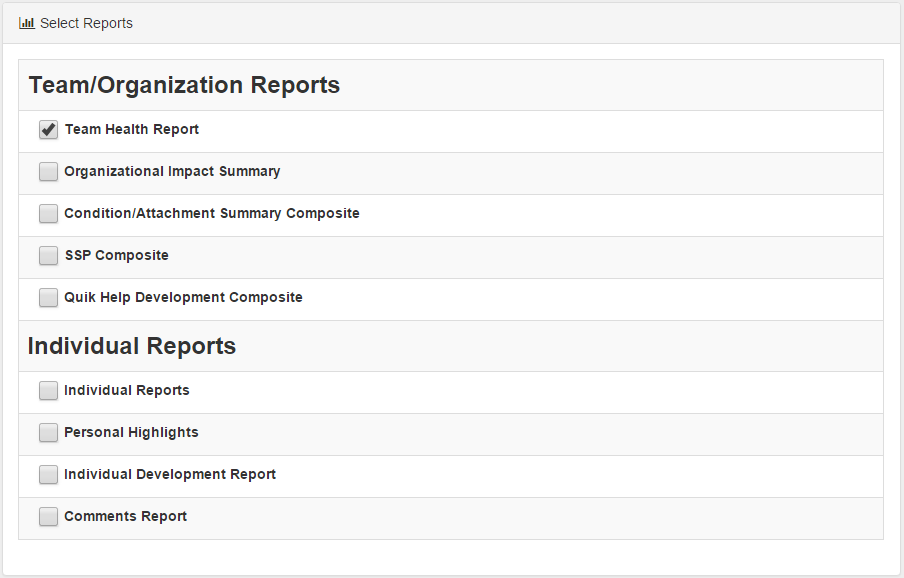
Once you have chosen your filters, you can now select which reports you would like to receive. The reports are categorized by Team/Organizational and Individual. Check the box beside the reports you would like to be included in your automatic report. Note that you may not see all reports in the list depending on your administrative level/restrictions or AMP subscription type.
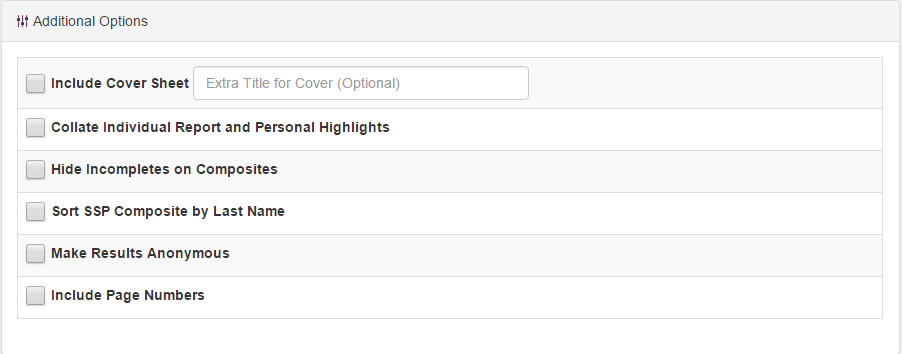
Once you have made your report selections, you can also apply any additional options. These options are the same as on the Generate Reports page. You can include a cover sheet with an optional title, collate the Individual Report and Personal Highlights, hide any Incomplete users on the composite page, sort the SSP composite alphabetically by last name, make the results anonymous, and include page numbers in the report.
Step 4: Final Settings
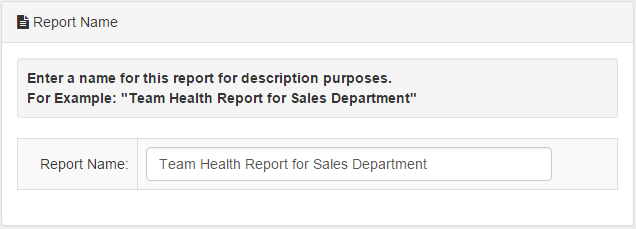
Reports may be given a name to help you be able to identify them later. An example of this would be “Team Health Report for Sales Department.”
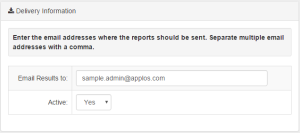
Next, you can enter the email address or addresses you want the report sent to. For example, if you want to send the Sales Department report to the manager of this department, you would enter their email address in the box. Select “Yes” under active to ensure the report is turned on.
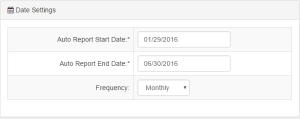
Under the date settings, select the date you would like the report to start going out. You also need to choose an end date. This is the date that you would like the reports to stop. You can set this date as far into the future as you’d like. Finally, select the frequency with which you would like the reports sent: daily, weekly, monthly, or quarterly.
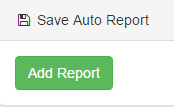
Once you’ve made all selections and chosen your filters, click the Add report button. Your report will now show at the bottom of the page under “Current Auto Reports” and will be sent out based on the start date and frequency chosen.